Now that you know you want one, how to install it. The sheer variety of options can make even getting started a challenge.
The first question is, “How much space do we have?”
To determine how much space you have for your system and how to connect it to your sink’s plumbing, peek under your bench. If there isn’t much room, you may have to compromise or reposition fixtures like pipes or cabinets. However, Most filtration systems can be installed without requiring extreme efforts such as removing walls.
The second step is to decide what you wish to discard.
The makeup of your water has a significant impact on the type of filter you should put in it, i.e.
If you’re using tank water, you may want a filter that can eliminate parasites like Giardia and Cryptosporidium in your water supply.
However, heavy metals may be riskier when relying on bore water.
On the other hand, folks who rely on municipal water systems may wish to find a solution that may neutralize unpleasant flavors, chlorine, and fluoride.
For this reason, it is essential to know the specifics of the filtering problem you’re trying to solve before shopping for a filter.
A water test could help you decide what to filter from your water supply.
Third, determine how many levels you’ll need.
If your water quality is average and you want to remove some sediment or unpleasant flavors and odors, a simple 1- or 2-stage filtration system should do the trick. If this is all you need, there is little point in spending more on some of the more ‘heavy duty’ systems, as these are typically smaller and less expensive.
A three- or more-stage system is required if the water quality is poor. These are more costly, but they effectively filter out harmful substances like metals and pollutants in water, keeping you and your family healthy without having to resort to unsafe alternatives.
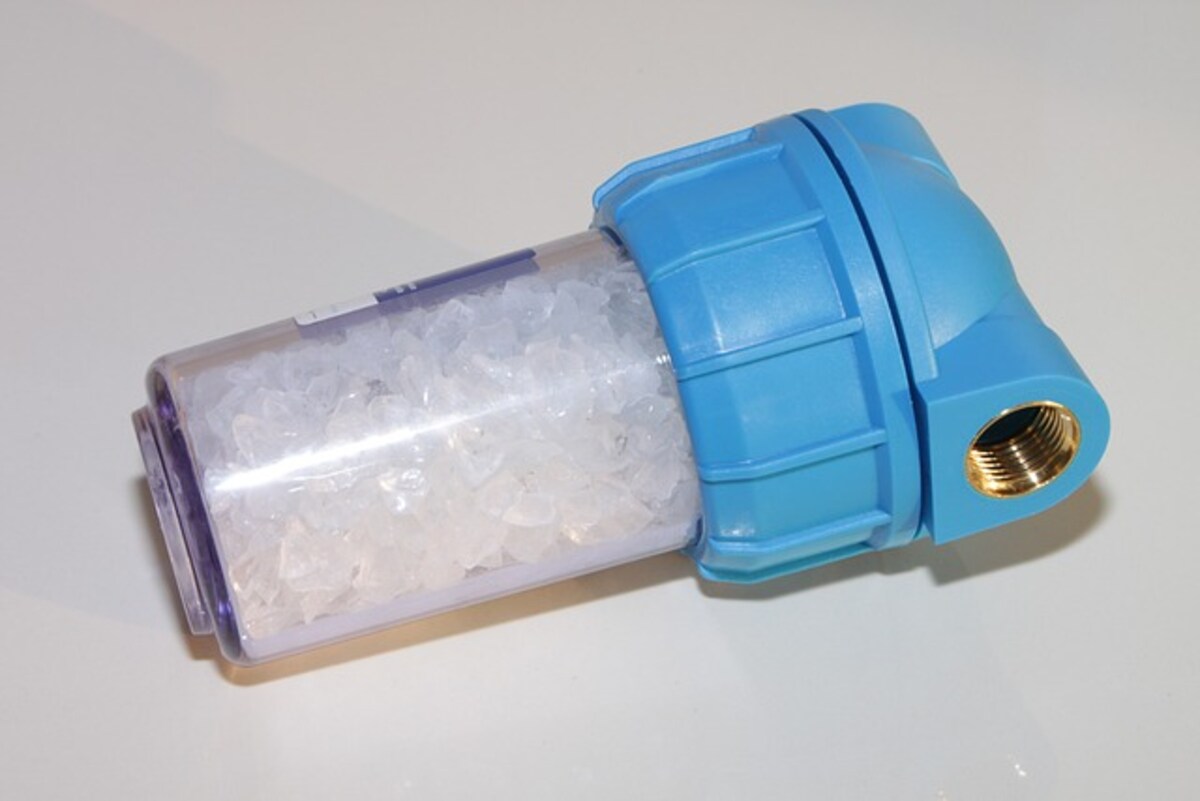
Phase 4: Determine which filter type is ideal for your needs.
The outcomes of steps 2 and 3 will significantly impact this. The most popular choices are:
A Filter Made of Activated Carbon
Pros: It gets rid of unpleasant odors and flavors. Cost-effective.
This filter cannot improve water quality, and heavy metals cannot be removed. The water pressure may drop, and the filter must be changed frequently.
Osmosis in reverse
Most parasites, heavy metals, sediments, and other pollutants will be eliminated. Easy to care for.
Negatives: higher price and greater size.
UV Protection:
Pros: It’s excellent against parasites and germs, and it’s probably the best option for
thus doing.
The lack of effectiveness in filtering out other pollutants limits its application.
Typically, a hybrid system is used.
Five: Added Functions.
Consider whether you want to upgrade to a model with a faucet attachment. This way, you can drink the purified water and wash dishes in untreated water. Because of the lower water pressure from using an activated carbon filter system, doing the dishes without this function is typically avoided.
Sixth Step: Exactly Which System?
Your only remaining decision is which brand and system best meets your needs while fitting comfortably within your allotted spending limit and the space beneath your sink.
Finding out which brands and systems are recommended by your local installer and supplier can be helpful, as can reading online product reviews.
Finally…
While we Kiwis are known for our do-it-yourself spirit, you should probably have a professional install an under-bench water filter. These systems can be quite intricate, and if a trained professional doesn’t install them, the manufacturer’s warranty may be null and void.
Pure Water Services is owned and operated by Steve Reynolds from New Zealand.
Read also: A Six-Step Process For Designing Your Bathroom.