Cork flooring is a good option for homeowners interested in using eco-friendly materials.
Here are a few reasons to consider cork flooring rather than linoleum or hardwood.
Cork comes from trees, so it’s a sustainable resource that regrows quickly and doesn’t harm the environment.
Cork is sometimes less expensive than even bamboo.
Mold and mildew have little chance of growing on the cork.
Cork is a versatile material that can withstand a wide range of temperatures and is also fire-resistant.
This material’s portability and buoyancy make it ideal for various applications.
Cork is impervious to harm from scratches and even insects.
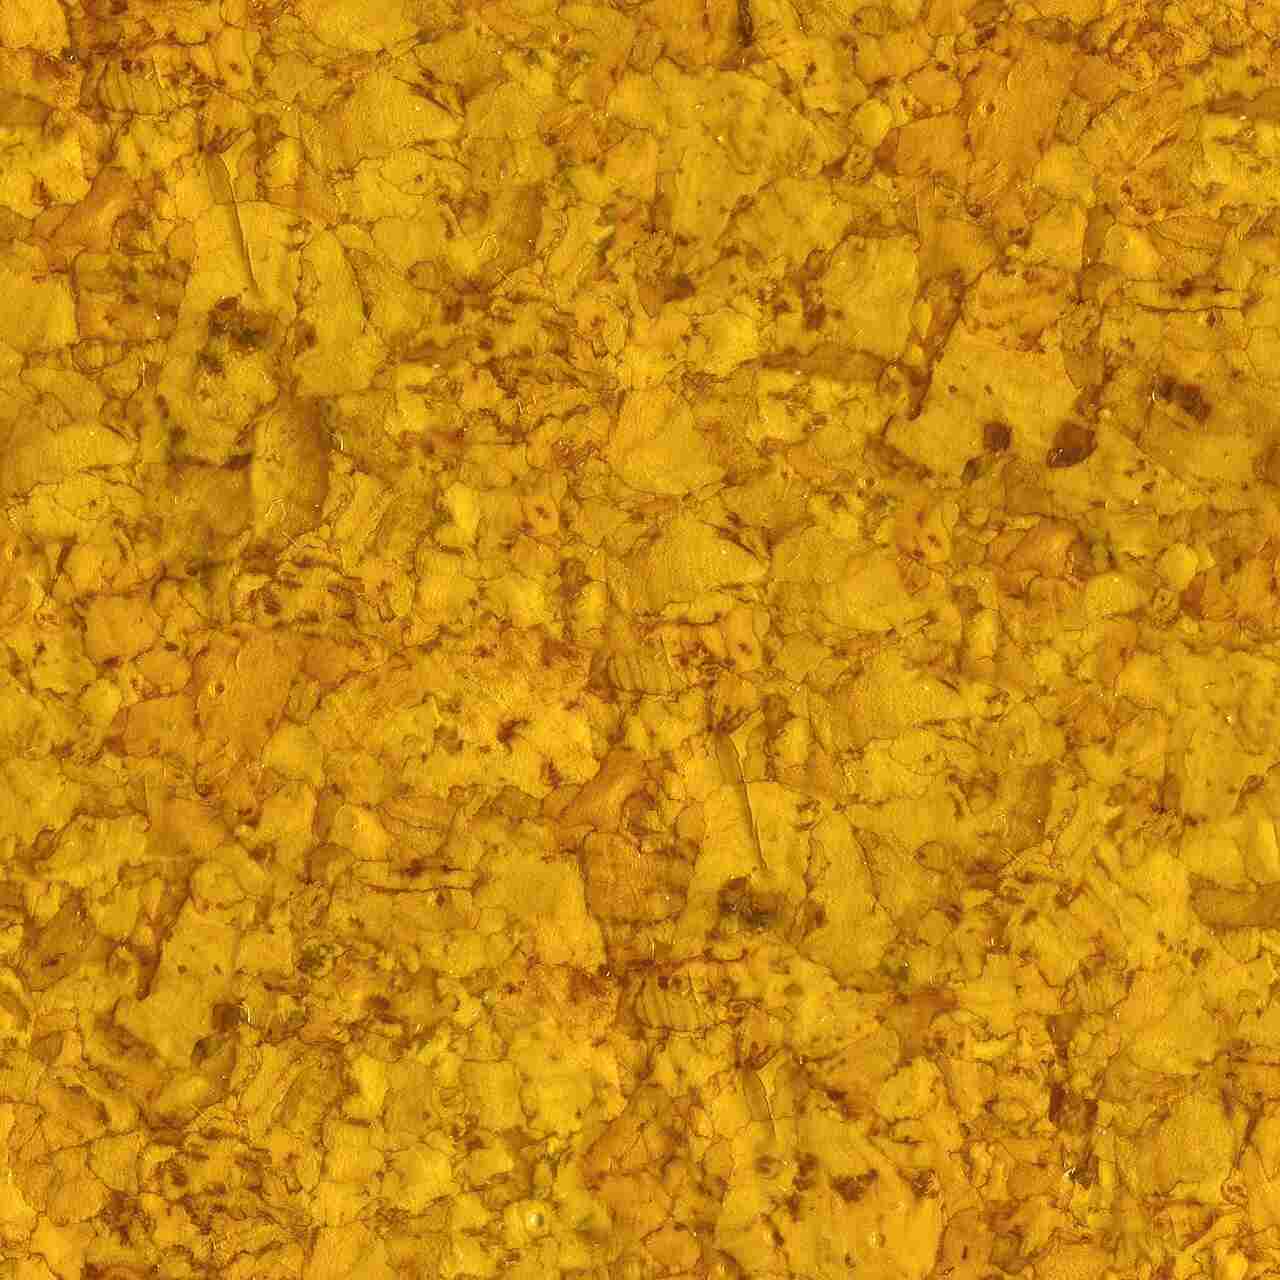
Cork, as you can see from the preceding, is culled from a specific kind of tree known as the Cork Oak. Because the tree is still alive despite having its bark scraped away, it is not necessary to cut it down. To make the tiles, the cork is first ground and flattened into sheets, then baked in a kiln before being cut into tiles. Each Oak must be at least 25 years old before it is even considered for usage. Trees are considered a renewable resource because new peel grows back quickly once the old bark is removed. But since this could still be bad for the trees, we can only cut them down once every nine years. Cork flooring is a great choice for high-traffic areas like the kitchen or the entire house if you have dogs. Because of the way it is manufactured, cork has numerous microbubbles in it, making it an excellent sound insulator; this makes it an excellent choice for wall covering in a music room (maybe because one of your children plays the drums).
As a result, for a modest investment, you may acquire a scratch-resistant, versatile, and long-lasting material that also respects the planet.
If you are concerned that the Cork flooring may detract from the beauty of your existing decor, you need not worry. Cork flooring, for example, can be found in various colors and patterns to suit any taste or aesthetic preference. The Cork can be installed on top of various substrates, the most common of which are concrete and hardwood subfloors.
Cork flooring is so simple to install that it defies logic. Here’s everything you’ll need to get started laying flooring, though.
You’ll need a tape measure to get accurate dimensions of the space where you plan to put the cork flooring; otherwise, you can end up with too much or too little.
A tool for slicing the stuff, like a Stanley knife. Some tiles or planks may need to be trimmed down to achieve a snug fit in the space.
Paint rollers and a paintbrush are also required.
Something like chalk to indicate the spot on the floor where the Cork will go.
Use just a rubber mallet; any other mallet will scratch the Cork’s surface.
A fastening agent of some description to secure the fabric. If you can, use an adhesive that dissolves in water.
Interior Design: Creating Timeless Beauty Within Every Space
Use a 100-150 pound roller to compact the material down firmly.
Here is a checklist of things you should do before laying the flooring to make your job easier and improve the quality of the installation.
It’s important to acclimate the cork to the room’s temperature before laying it down, as the material expands and contracts with changes in humidity and temperature.
Second, you’ll want to clean the area before applying the glue; it won’t do correctly if dirt is stuck to the floor instead. The floor must be swept, mopped, and allowed to dry.
The best way to determine how much material you’ll actually need is to measure the length of each wall in the room with a tape measure. To avoid leaving your room without finishing a project, it’s a good idea to get a few extra supplies.
Make sure the floor is even; if it isn’t, you’ll need to sprinkle a floor-leveling compound over the entire surface. Latex is a common choice.
After all that preparation, you may finally start laying down your Cork flooring.
Before applying any glue to the floor, perform a test placement of all of the tiles or planks. If certain tiles or planks don’t quite fit, you can measure the leftover space, trace it onto a tile, and then trim it to size with the cutting tool. Section off areas after laying the tiles.
Using a reasonable amount of pressure, apply the glue to a small portion of the floor and wait for it to cure until it is tacky.
The tiles or boards should be laid out on the floor and then either lightly knocked into place with the mallet or rolled over multiple times in opposite directions to provide a secure hold. If you want a professional look and to make sure the tiles stay put, use the roller.
After positioning each piece, wipe away any extra adhesive with a moist cloth.
Do not walk on the cork flooring until the adhesive has dried completely, which may take several hours.
Avoid using harsh chemicals like bleach or cleaners with abrasive particles while mopping your cork floors; a simple damp mop will do the trick.
You now have nice new flooring for practically nothing.
When maintaining your cork flooring, it’s best to stick to milder cleaners. Mopping with a damp mop on a regular basis should be fine. Always clean up a spill with a sponge or piece of paper to prevent irreversible damage.
DIY Guides and Other Public Designs.
Read also: Get The Facts About Metal Roofing!