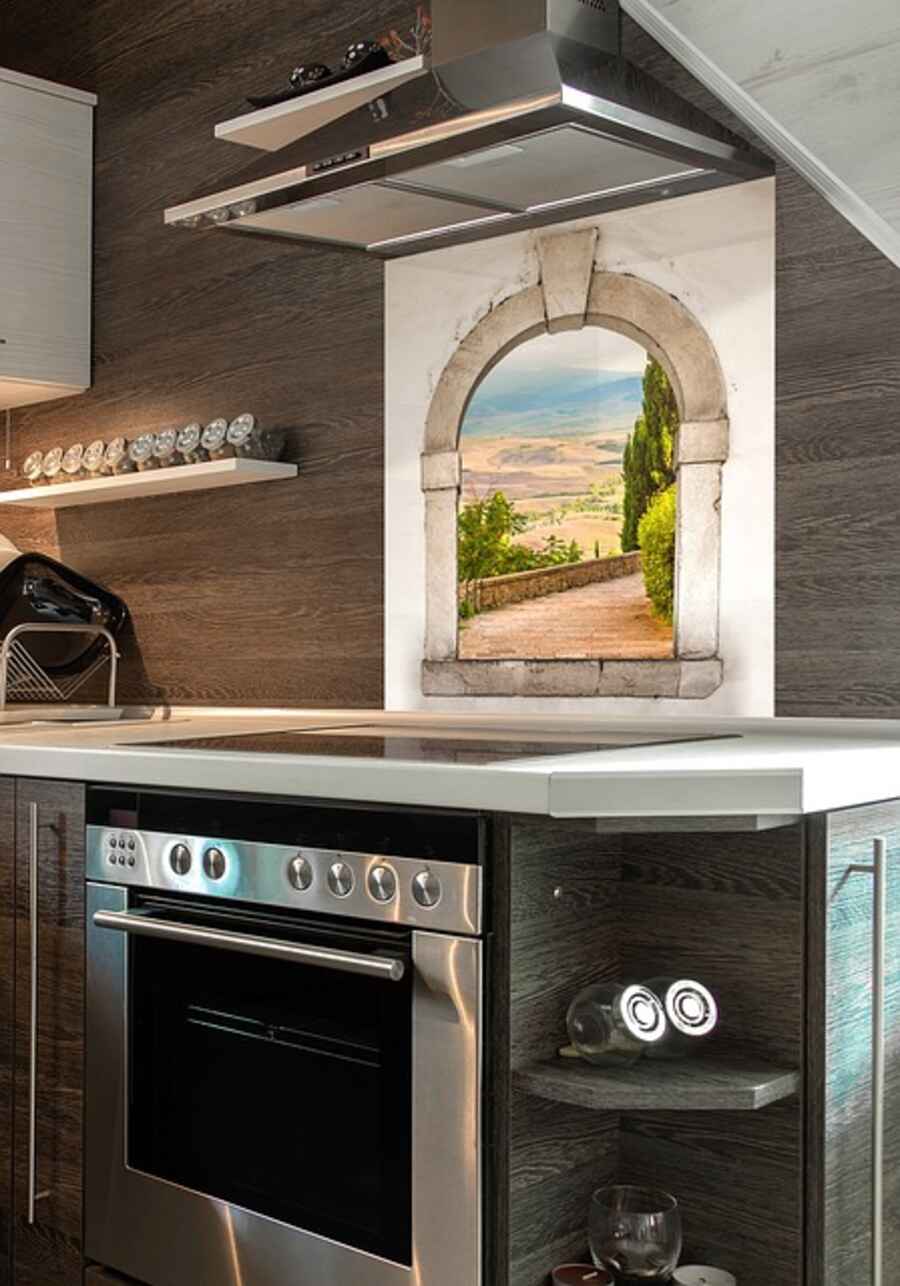
The primary target of grease and oil splatters during cooking is the wall behind the stove and the counter. This creates a messy appearance. Backsplash must be prevented from damaging the walls. Walls should be covered in ceramic tile because installing and maintaining cleanliness is simple. It enhances the aesthetic appeal of the walls as well. The project can be completed in one or two weekends and will prevent the need for repainting and cleaning the walls.
How many tiles you’ll need, what kind of tile can be used, and how to install them on the kitchen wall are all questions you can ask in your neighborhood shop. There is a wide variety of tiles to choose from. Ceramic tile is the top choice. There are attractive, low-maintenance recycled glass tile options in various colors. There is also the option of metal tiles. These are also suitable for use as a backsplash in the kitchen. Consult a professional for advice on the best material, and buy extra tiles in case of any break or need to be trimmed down to fit the space exactly. Glazed tiles are preferable to unglazed ones if you want to avoid grease and filth buildup.
The wall or other surface where the backsplash will be put must be completely smooth and free of dust, debris, and leftover paint. You may need to scrape with sandpaper to achieve a perfectly smooth surface. Spread newspaper over the countertop to protect it from the backsplash installation process. Please wipe down the kitchen counter. Removing the range hood and the rest of the kitchen appliances is necessary.
Correct tile installation requires precise measurements.
Tiles, mastic or any adhesive, grout, caulk, level, a notched towel, tile cutters and nippers, rubber grout float, a giant sponge, soft cloth, and a pencil are all required tools.
The tile you choose will determine how much adhesive or mastic you need to purchase. The tile will adhere better to the wall if you do this. The choice of grout is also essential. It could match the tile’s color or be contrasting to make each tile stand out. By reading the included directions, you can determine the correct size of the notched trowel to use with the mastic. The grout packaging will specify if a float is needed for application or if rubber gloves are sufficient. If you want to remove the grout from the tiles’ surface, use a giant sponge.
A tile nipper, tile cutter, and tile saw will be needed. Damage to the tiles is unlikely if a diamond blade is used. If the tiles are to be damaged at all, it is recommended that they be reduced to size at the outset. Tiles used for the backsplash surrounding power outlets must be precisely trimmed to fit the space.
Mark the middle of the backsplash and draw a perpendicular line through it, checking plumb with a level as you go. There will be significant backsplash in the central region.
You should lay the tiles on the counter in the desired pattern to check if you like the result. Now is the time to have any adjustments done that you’d want. Applying the mastic in a horizontal line across the center and working outwards to adhere to the tiles is recommended. To prevent the mastic from leaking and sticking to the tiles, it is essential not to push too firmly. Make sure all the tiles are flush with one another. It’s necessary to wait until the mastic is dry before applying the grout.
Moisten a sponge and wipe down the tile to remove any lingering grout. Caulking should be used around the perimeter of the backsplash if any exposed edges could get wet. Before applying the grout, ensure the mastic has enough time to set. When installing a backsplash, make sure that it completely covers the wall.
When finished, the backsplash will serve a practical purpose while also elevating the aesthetic quality of the kitchen.
For Plasma Cutter, Parthee writes SEO text. He is an accomplished writer, covering subjects as diverse as metal cutting, cutting machines, aluminum welding, and welding supply. Please Check Out Our Welding Gear Online Store!
Read also: A Six-Step Process For Designing Your Bathroom