Limescale or hard water is the biggest killer of appliances, kettles, and water boilers. Limescale removal is a challenging task; if left for too long, it’s usually impossible. The best method of descaling is not to descale at all. Many different kinds of water filters are available. Limescale buildup in plumbing and appliances can be prevented by installing a water softener at the property’s main water inlet. Depending on the size of your family, water softeners might cost anywhere from £300 to £700.
Preparing for Setup. Never break the rules on water use. Ensure the unit has easy access for salt refills and future maintenance and that there is just one main water supply. The water pressure, central water supply stop cock, drain facility, and power supply must all be checked before the device can be installed.
Water Pressure Analysis. A pressure check needs to be done regularly. The softener can be damaged or fail if the water pressure is either low or too high. Although the softener has been stress tested, a pressure restriction should be installed if the pressure is expected to be more than 5 bar (70 psi). A leak controller is a valuable addition to any water-using device and is highly recommended.
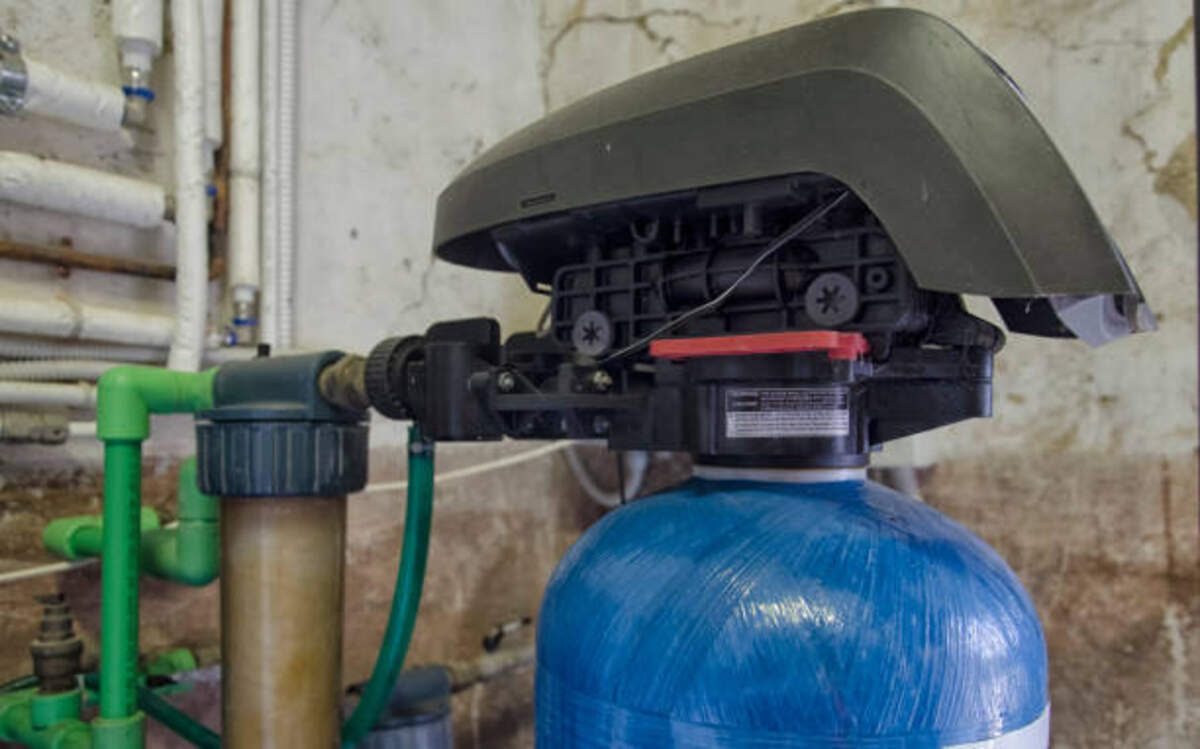
Placement of the Softener. This should be as close as feasible to the main water line. Install hard water take-off points at any indoor or outdoor water sources. The cold water faucet in the kitchen is a beautiful place to get clean water to drink. If that isn’t an option, a filtered water kit that anyone can put together exists. I suggest installing a reverse osmosis system if the Stopcock is in an inconvenient location, as this will result in a hard water supply. Reduce the distance between the sink and the Softener. Avoid letting the drain and overflow get below freezing or above 49 degrees Fahrenheit. Make sure the base of the softener is supported correctly if you plan on placing it within a cabinet. The water softener should be housed in a 95-liter tank and insulated adequately if it is to be installed in an unheated space such as a loft. The tank’s overflow must be at least 3/4 inches in diameter and below the softener’s overflow.
Invalid Drain Valve. Only one check valve needs to be installed in a single-family home. You can get this at any hardware or plumbing store.
To-do list. Connecting the unit’s inlet and outlet will require two T valves, an isolator valve, and two flexible hoses.
To begin installing the valves, the stopcock must first be closed.
Joining up with the mellower. When you are through installing the valves, make sure the inlet and exit valves are closed, and the bypass valve is open. You may now switch the stop cock back to its open position. Join the softener’s inlet and discharge hoses together. Labeling the softener inlets and outlets with either the words “inlet” and “outlet” or an embossed arrow pointing in the appropriate direction is essential. Typically, a softener has three tails, with the waste exit in the middle.
Putting up a Sewer Line. A waste hose, which may or may not already be attached to the softener, is included with every softener. If this isn’t the case with your machine, you can connect the softener drain with the fitting at the end of the provided flexible tubing. Connect the drain pipe to an upstand or outdoor drain. At the end of the drain line, there needs to be at least 20 mm of space. Water softening equipment has no negative impact on a septic system. The drain hose can be extended up to 8 meters using a 15mm copper tube and a daytime pressure of at least 40 psi. Ensure the drain hose is not kinked to prevent the machine from overflowing. With a minimum pressure of 40 psi, the drain pipe can travel uphill no more than 3 feet.
Link for Extra Capacity. Disconnect the overflow pipe from the main drain. You can find the spigot for the overflow hose—a white half-inch—on the back or side of the cabinet. This link doesn’t need a clip to work. The extra water needs to be directed downhill through an unobstructed exterior wall. It is suggested the overflow hose be exposed where it emerges from the outer wall.
Wiring up the electrics. After turning off the power, connect the provided transformer to the always-on power source. Connect the transformer’s flying lead to the controller’s power port. Ensure the stray information won’t get snagged in the camshaft or other moving parts.
Getting the softener ready for use. Now that everything is hooked up, you should fill the brine tank with about 5 liters of water. At this time, you may also add salt to the water in the tank. Water softener salts in the brine tank shouldn’t get too high, or they’ll spill over. The amount of salt needed to operate specific equipment varies. Never allow the brine tank to run dry of salt; until a regular consumption pattern has been established; checking the salt levels once a week is recommended.
Preparing the apparatus for use. Adjusting the input and output valves and closing the bypass valve will return the machine to a serviceable state. The following steps should be taken to achieve the best results from this treatment.
1. Set the inlet valve of the softener to the “on” position.
The second step is to close the bypass valve. Step 3 should be delayed for about five minutes to let the incoming water pressure build-up.
The third step is to activate the Softener by turning the outlet valve on.
You should now manually regenerate your machine and finish any remaining instructions from the manufacturer. At this point, you conduct a manual Regeneration to ensure that the unit’s valves are correctly placed and that the Waste flows freely. Any airlocks in the system will be cleared with the help of this regeneration process. Any internal meters or timer devices whose cycles are determined by the regeneration will likewise be reset. Soft water should now come from your machine and into your home. If the water seems too gentle, you can always leave. You can mix in some hard water by slightly opening the bypass valve to diminish the soft water’s effect.
Andrew Brazendale has worked in the construction industry for over a decade and is a certified electrician. Learn More at [http://www.howtowire.co.uk/]. Click here for further details and helpful hints on
Read also: How To Use CRM Solutions To Scale Up Your Company’s Performance